


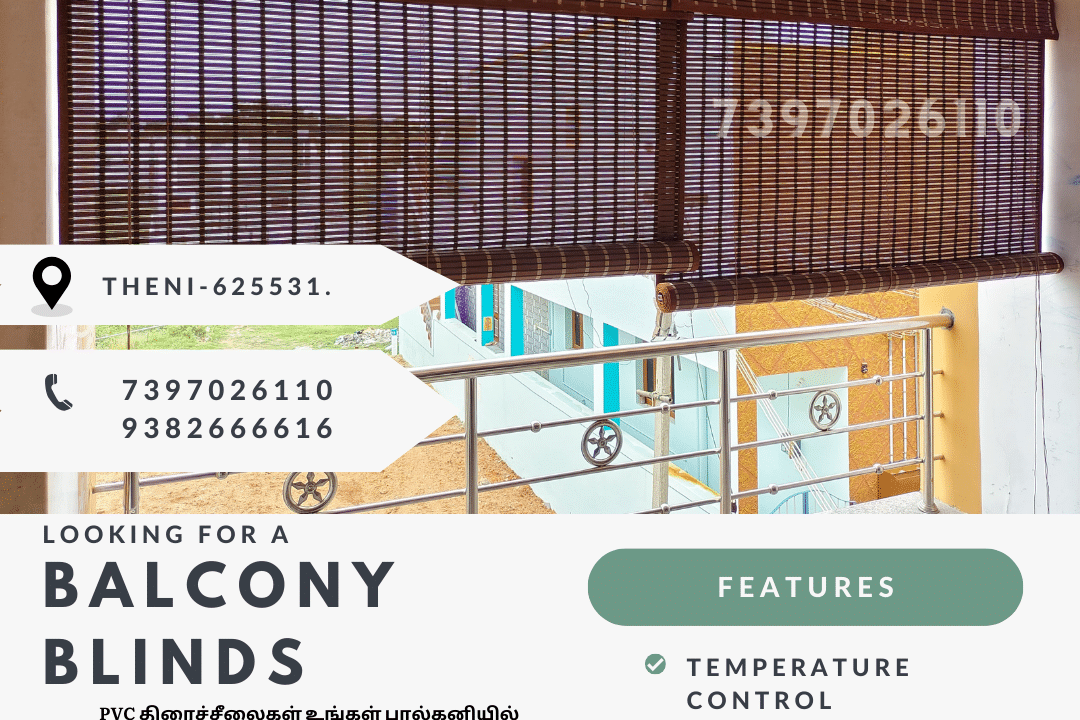


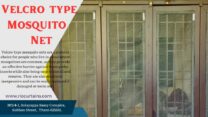


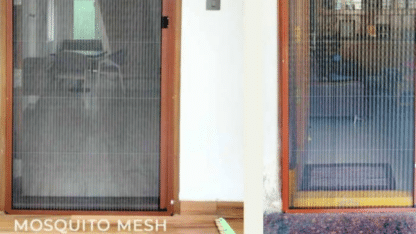
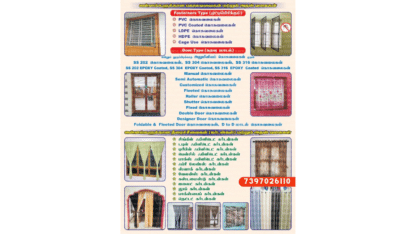
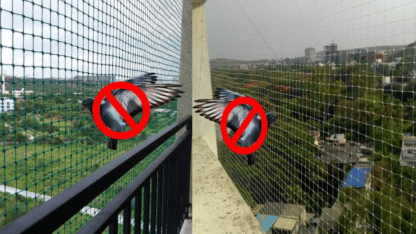
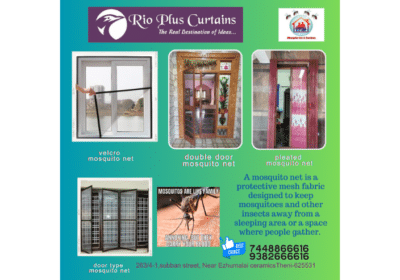
Best Quality Mosquito Frame Type Showroom in PC PATTI THENI Sure, here’s a simple model for an insect screen door:
**Materials:**
1. Aluminum frame pieces (top, bottom, sides)
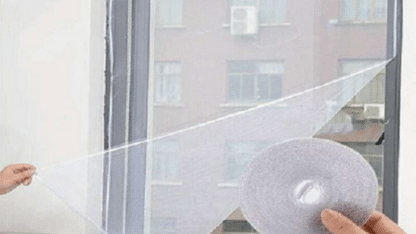
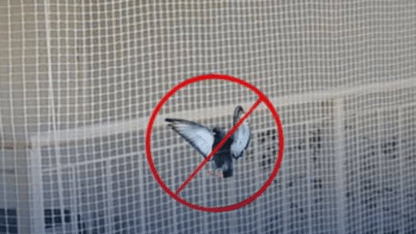
2. Fiberglass insect screen mesh
3. Corner connectors
4. Screws
5. Hinges
6. Handle
7. Magnetic strip (optional)
**Tools:**
1. Saw (to cut aluminum frame pieces if necessary)
2. Screwdriver
3. Measuring tape
4. Utility knife (to cut screen mesh)
5. Drill (if needed for pilot holes)
**Instructions:**
1. **Measure and Cut Frame Pieces:** Measure the dimensions of your door frame and cut the aluminum frame pieces to fit accordingly. You’ll need four pieces (top, bottom, left side, right side) to create the frame.
2. **Assemble Frame:** Use corner connectors to join the aluminum frame pieces together at right angles. Secure the corners with screws to ensure stability.
3. **Attach Hinges:** Decide which side of the frame will be the hinged side of the door. Attach hinges to this side of the frame, following the manufacturer’s instructions.
4. **Attach Handle:** Install a handle on the opposite side of the hinges to facilitate opening and closing of the door.
5. **Cut and Attach Screen Mesh:** Lay the frame flat on the ground or a large work surface. Unroll the fiberglass insect screen mesh and cut it to size, leaving some overlap around the edges of the frame. Use a utility knife to trim excess mesh. Secure the mesh to the frame using a combination of adhesive tape and staples, ensuring it is taut and free of wrinkles.
6. **Install Magnetic Strip (Optional):** If desired, attach a magnetic strip along the edges of the door to ensure it closes securely behind you.
7. **Mount the Door:** With the help of someone else, hold the assembled door frame in place within the door frame of your house. Use screws to secure the hinges to the door frame, ensuring the door swings freely.
8. **Test the Door:** Open and close the screen door several times to ensure it operates smoothly and that the mesh remains securely attached.
This is a basic model for constructing an insect screen door. You can customize it further with additional features like a spring-loaded closer or a locking mechanism, depending on your preferences and needs.


You must be logged in to post a review.